B24. How Can I Add Entries From Linked Tables to my List?

timeSensor LEGAL lets you create your own lists, provided you have the required access rights. Watch our tutorial E6 to learn how to do this. This FAQ describes how you can add data from linked tables to a list.

Tables

All entries from the timeSensor LEGAL database are saved in tables. Each entry belongs to one of the approximately 200 tables in the database. The most important tables are:

  • Contacts
  • Cases
  • Invoices
  • Lines

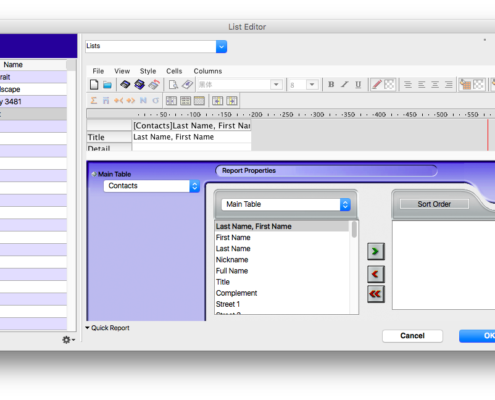
When you create a list, you have to assign a main table. The following example shows a list which was created in "Contacts". The main table is "Contacts".

Relations

Many tables are linked to each other. These links are referred to as "relations", which is where the term "relational database" comes from. A relation will automatically be activated when a list contains a field from a linked table.

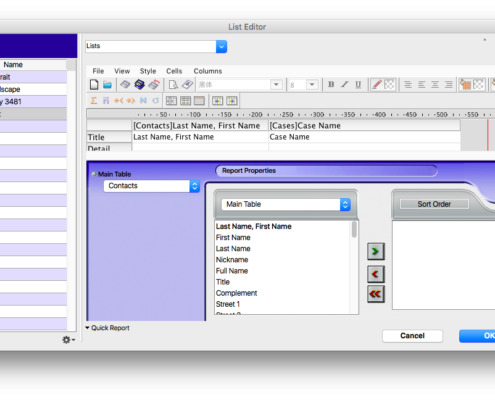
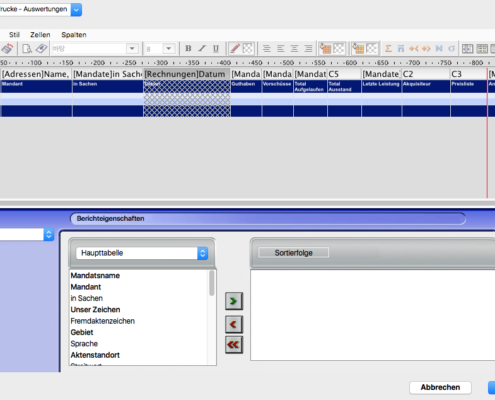
In the following example, you will see that we have added one field from the table "Cases" to our list. The tables "Contacts" and "Cases" are linked to one another. Since we have added a field from the linked tables "Cases" to the address list, the relation will automatically be activated upon printing.

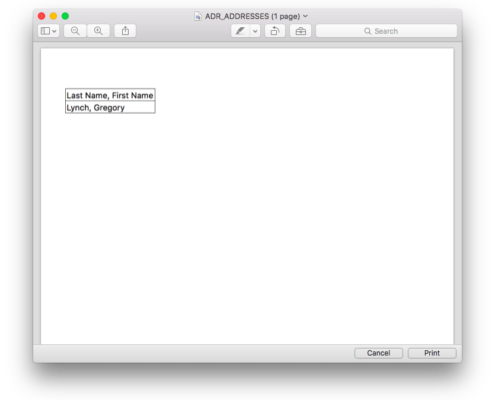
Immediately after printing the field "Last Name, First Name", the program will look for all the cases linked to this field in the table "Cases". The case will be added to the list. Now, what if one contact has several cases?

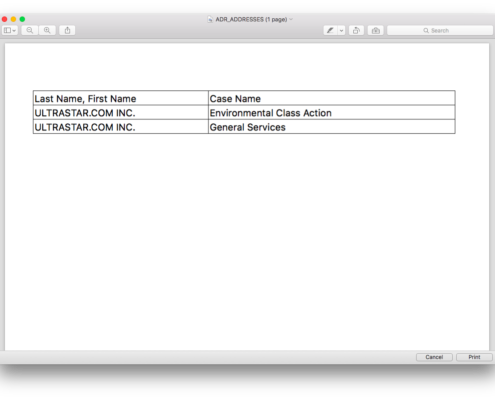
In this case, the case line will be repeated as often as necessary to account for all cases of the selected contact. In our example, our client "Ultrastar.com Inc." has two cases, which are displayed on two separate lines in the list.

This will also work with other tables. For example, you can print a list of cases in the area "Finances", under "Cases", and show all invoices linked with the cases.

Hint

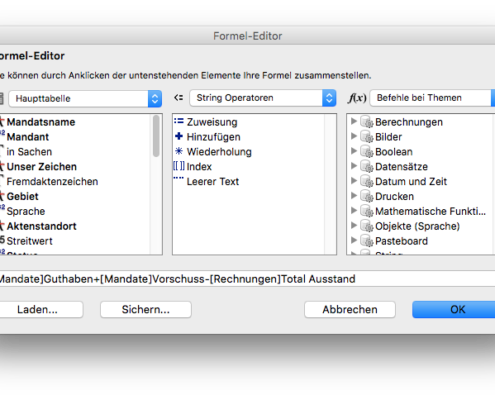
Your list must contain one field from the linked table in order to activate the relation. Otherwise, only the current entry from the main table will be displayed. This is particularly important if your list contains formulas that correlates with the linked table. In this case, add a field from the linked table to your list. If you do not wish to print this field, you can hide it in the menu "Column". The field will not be printed but lets you activate a relation. In the following example, we have added the column [Invoice]date to the report, then hidden it. This way, the formula "C5" is calculated properly.

 

B25. How Can I Update timeSensor LEGAL?

In General


As long as you have administrator rights, you can update timeSensor LEGAL at any time. Open the application menu "File" ("File" for Windows), then click "Check for updates".

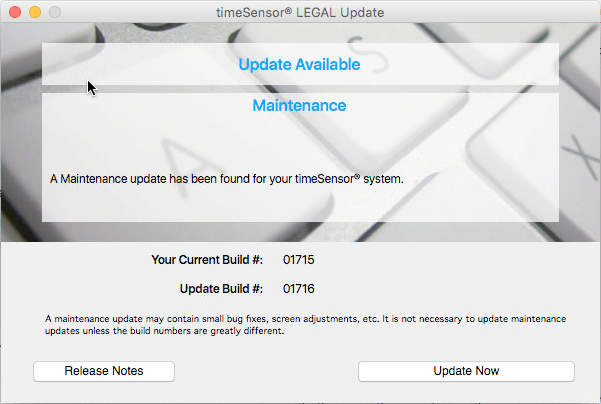
The dialog box will display all available updates and the type of update:

  • Maintenance updates do not necessarily need to be installed.
  • Recommended updates should be installed rapidly.
  • Critical updates should be installed as soon as possible.

All users have to be logged out before you install an update. It is best to install updates during downtime, e.g. early morning, at noon or in the evening.

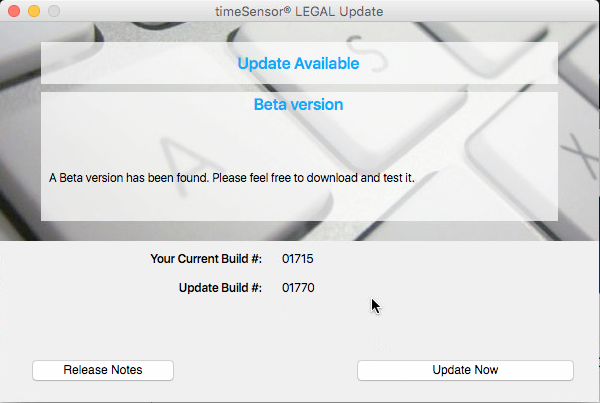
Beta versions will usually not be displayed. If you are interested in a beta version, hold down the Alt key and click on the "Check for Updates" button in the dialog box. If there is a beta version available, it will show up and can be installed.

Hint: we are happy to share our beta versions and make them available for download, so that you can use the newest features and benefit from bug fixes. Beta versions are tested prior to upload. Be aware that beta versions have a slightly higher potential for software errors than normal versions.


Update Procedure


The update procedure will go through the following steps (multi-user system):

  1. Backup: Start with a backup. We recommend that you always do a backup before an update. If you so wish, you may skip this step and install the update anyway.
  2. Download: The system will download the update from the server, if this was not already done automatically.
  3. Update: If the download was successful, the system will now install the update:
    1. the connected client is disconnected
    2. the 4D server is shut down
    3. the old software version is replaced by the new version
    4. the 4D server is restarted
  4. You may now log in again and use the newest version.

In single-user systems, the update is faster. There is no 4D server and the update only needs to replace the software app. Do not interrupt the process. 

Possible Errors During Update Procedure


  1. Download errors: The update will be downloaded automatically from the ftp server. Your firewall must be set up to allow download through ftp protocol. Some firewalls will also check the downloaded zip file for viruses. The download package is almost 1GB, so make sure that the check does not timeout. The majority of errors that occurred during download could be resolved with proper firewall settings. Ask you network supporter for assistance.
  2. Replacement errors: The old software version will only be replaced if it is called "timeSensor Server" (multi-user system) or "timeSensor" (single user system). Please do not rename the application.